
Why?
While developing apps you usually don’t want to hook them right into a production environment. Accessing public APIs and manipulating them might hurt your user experience. Maybe you don’t even want to target your public API but an API running locally on your computer.
The list why you want to have different environments is pretty much endless and there are a lot of techniques on how to achieve this.
How (not) to do it.
One of the easiest ways you can achieve this is by having a isProduction flag running through your app.
It would look something like this:
showMessage(): string {
  const message = isProduction
    ? 'Production'
    : 'Development';

  return message;
}
This is easy and works well for small applications like proof-of-concepts apps or applications you have to ship right away and fix later (I know you hate and publish them at the same time).
Another drawback of this approach is your code being very hard to extend.
Imagine the same app now two to three years into development. You have a lot of features and to have a proper staging environment to test stuff out before it is released to users.
showMessage(): string {
  const message = isProduction
    ? 'Production'
    : isStaging
        ? 'Staging'
        : 'Development';

  return message;
}
Imagine doing this over and over again. Adding another environment would likely cause you to question your sanity, buy 30 sheep and move to a forest with your dog and say goodbye to civilization.
Doing it right.
After you create your app in Ionic you will find (as in any Angular project) an environments folder with two files in it
environments | environment.prod.ts | environment.ts
Let’s add the above message to our environment files:
// environment.prod.ts
export const environment = {
  message: 'Production'
};

// environment.ts
export const environment = {
  message: 'Development'
};
Using this now in your code is simple:
// home.page.html
<div id="container">
    Your app is running in: <strong> {{ showMessage() }}</strong>
</div>

// home.page.ts
import { environment } from './../../environments/environment';

...

showMessage(): string {
    return environment.message;
}
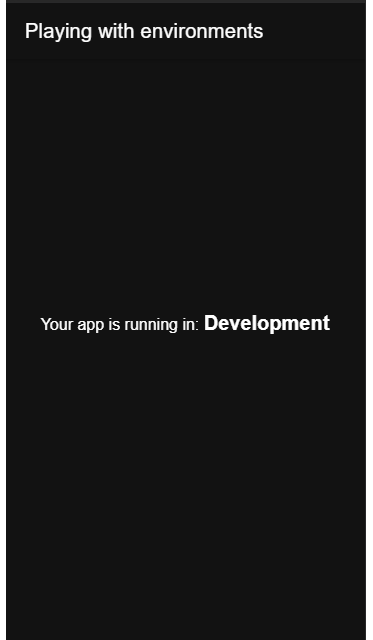
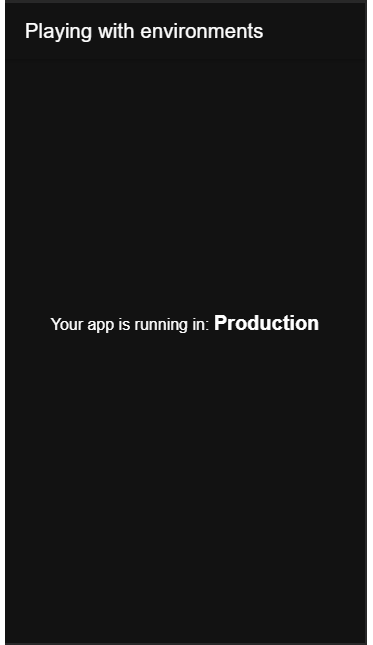
Let’s now start the app in both environment setups:
//development
> ionic serve

//production
> ionic serve --prod
Now we can check out the results below:
With just one line of code you are able to change a lot of your apps behaviour! Angular and Ionic come with those two environment files by default. If you need more, don’t worry, it’s a very simple process.
We add another file into our environments folder and name it environment.staging.ts with the following content
// environment.staging.ts
export const environment = {
  message: 'Staging'
};
Now that this is done we need to let our CLI know that this file exists and when to use it. For this we have to update the angular.json file.
First, find the architecture peoperty and under configurataions add your fileReplacement stragegy
"configurations": { "production": { }, "staging": { "fileReplacements": [ { "replace": "src/environments/environment.ts", "with": "src/environments/environment.staging.ts" } ] }, }
Second, we have to do the same under the serve property
"serve": {
  "builder": "@angular-devkit/build-angular:dev-server",
    "options": {
      "browserTarget": "app:build"
    },
    "configurations": {
      "production": {
        "browserTarget": "app:build:production"
      },
      "staging": {
         "browserTarget": "app:build:staging"
      }
    }
}
Now simply run the following command
> ionic serve --configuration staging
And you should see something like this:

Hope this will help you out and prevent a lot of headache.
As always, you can find the code on my GitHub account.
Happy coding!